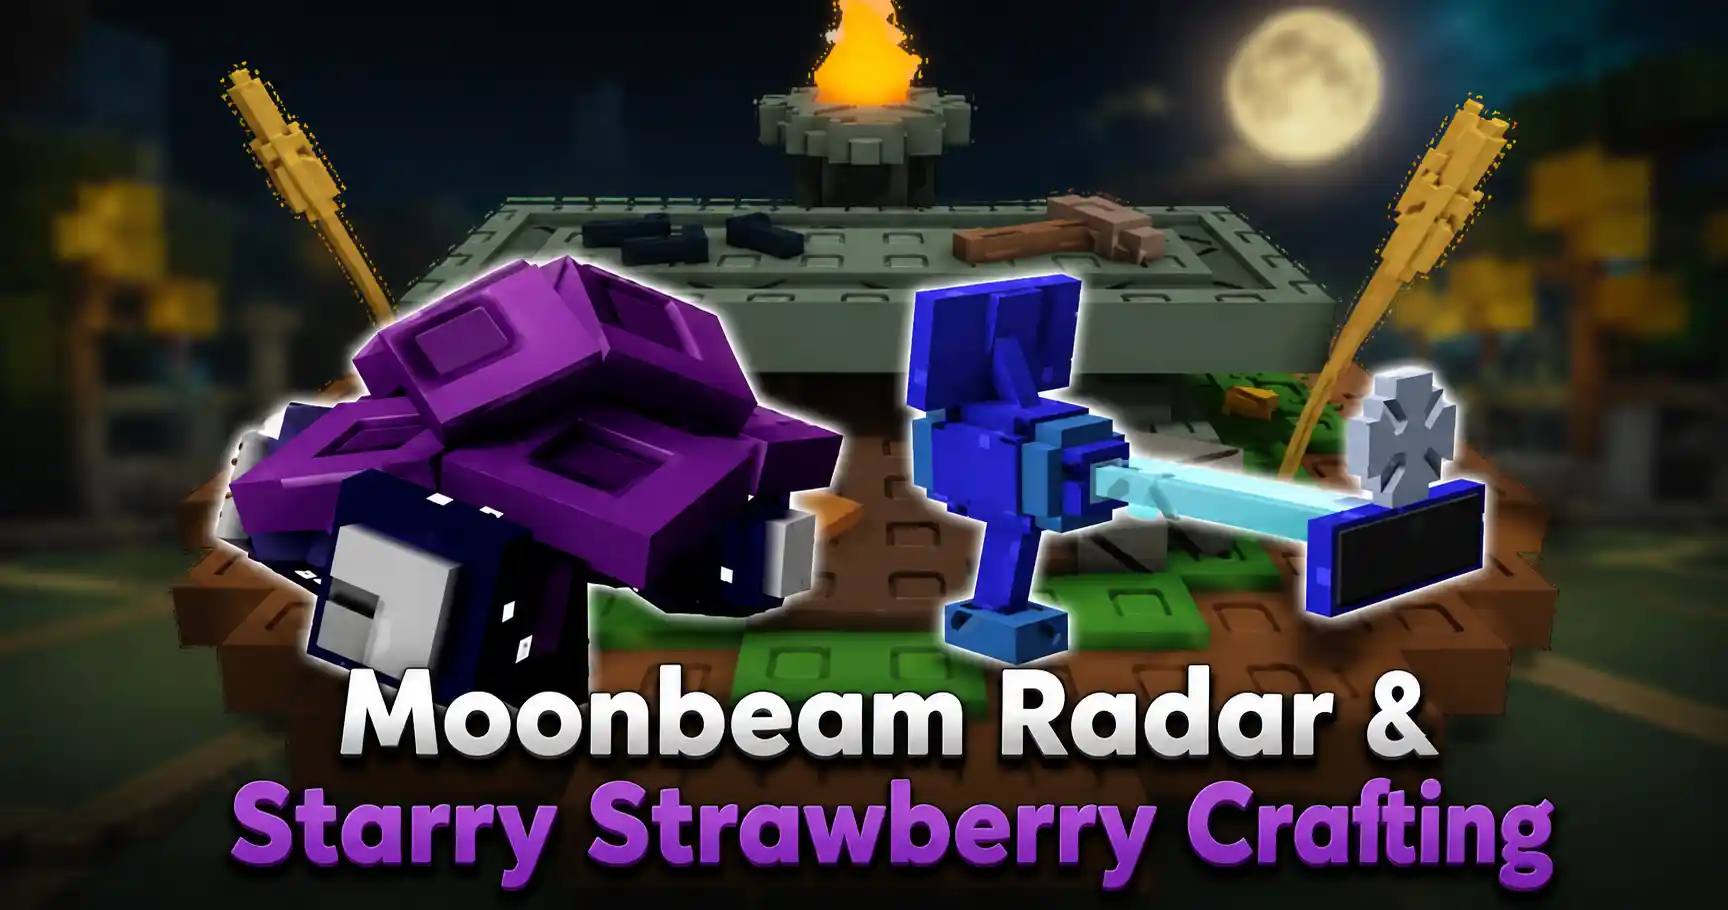

Two weeks into the Harvest Moon Event, most active farmers are sitting on a pile of Moon Coins with nowhere new to spend them — and then Update 1.63.0 dropped a crafting table that changes that overnight. Among the six items it unlocked, two keep showing up in every search bar and Discord thread: the Moonbeam Radar and the Starry Strawberry. One of them you’ve probably already walked past in the Moon Coin Shop without realizing what it does. The other is a brand-new seed that’s still being pieced together by the community in real time.
This guide breaks down exactly what’s confirmed about both items right now — where to get the Moonbeam Radar today, what the Starry Strawberry actually is, and how the Moon Crafting table that houses them actually works, using the one recipe from this batch that’s fully documented (the Harvest Golem) as your reference point for how the system behaves.
What Moon Crafting Actually Unlocks in Harvest Moon Part 3
Moon Crafting is a dedicated crafting station added with Update 1.63.0, separate from the Moon Machine pet-mutation system that launched alongside it. Where the Moon Machine only touches pets, Moon Crafting is where your banked Moon Coins turn into seeds, gear, and companions that don’t exist anywhere in the regular shop rotation.
Six items currently sit on the crafting table:
- Starry Strawberry (seed)
- Moonbeam Radar (gear)
- Wheat Crow (pet)
- Wheatcap (seed)
- Harvest Melon (seed)
- Harvest Golem (pet)
The single most important thing to understand about this table is that you can’t just buy your way to the good stuff. Every recipe unlocks progressively as you summon the Harvest Moon — the same pedestal-and-weather ritual you’ve been running since Part 1. Players who prioritized summoning early already have a real head start heading into this crafting phase, since the recipe list literally will not open for you until your summon count clears each item’s threshold.
How to Get the Moonbeam Radar Right Now
Here’s the part that trips a lot of players up: the Moonbeam Radar isn’t a brand-new item. It first appeared as an Uncommon Gear piece back in Harvest Moon Part 2, sold directly through the Moon Coin Shop. What changed in Part 3 is that it’s now also one of the six confirmed Moon Crafting recipes, giving you a second route to the same item.
| Detail | Confirmed Info |
| Rarity | Uncommon Gear |
| Direct shop price | 12 Moon Coins or 199 Robux |
| Restock chance | 50% per Moon Coin Shop refresh |
| Function | Scans your garden and automatically collects fruit carrying the Moonbeam mutation |
| Added | Harvest Moon Part 2 |
| Second acquisition route | Moon Crafting table (Part 3) |
Functionally, the Moonbeam Radar solves the single most tedious part of the entire event: manually sprinting across your plot every time the Harvest Moon weather triggers to grab mutated fruit before it despawns. Once placed, it handles the collection step for you, which matters a lot if you’re farming Moon Coins toward the Harvest Golem’s summon-gated recipe rather than sitting glued to your screen for a 10-minute window.
If you already own one from Part 2, there’s no indication you need to re-acquire it through crafting — but if the shop hasn’t restocked one for you and your Moon Crafting recipe list has it unlocked, the crafting table is now a legitimate backup path.
Starry Strawberry — What’s Confirmed So Far
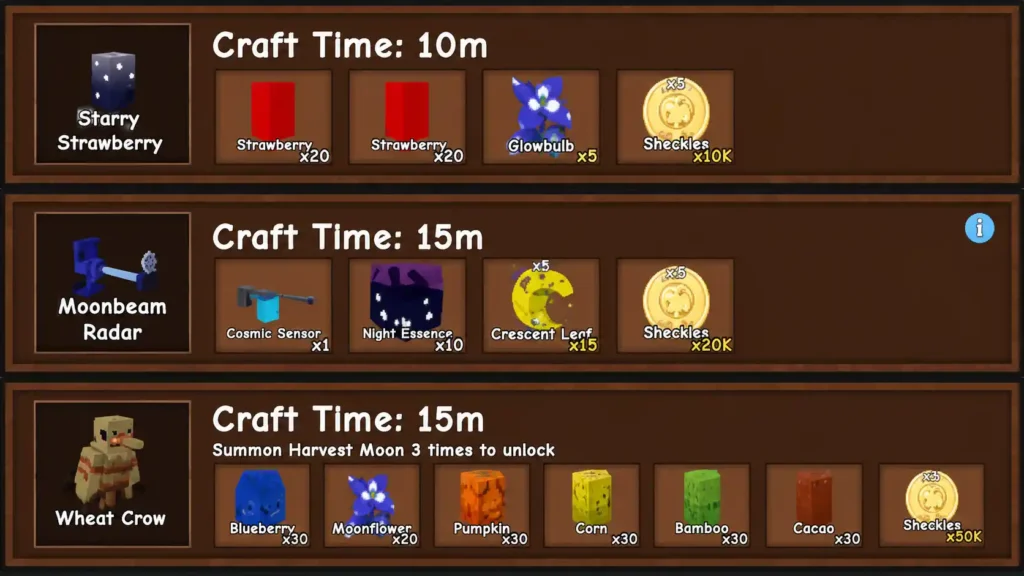
The Starry Strawberry is a new multi-harvest crop that shipped alongside the rest of the Part 3 content, and it’s one of the six items officially listed on the Moon Crafting table. Beyond that, here’s an honest state of play: the exact ingredient list — what materials, how many, and how many Harvest Moon summons it takes to unlock the recipe slot — hasn’t been independently verified yet. This update is only a couple of days old at the time of writing, and unlike the Harvest Golem (which the developers detailed clearly in the patch notes), Starry Strawberry’s individual recipe simply hasn’t surfaced through official channels or cross-referenced community testing.
That’s a deliberately different approach from a lot of guides you’ll find right now that are already publishing specific ingredient numbers for it — treat any of those figures as unconfirmed until they match what your own in-game Moon Crafting menu shows you. The name pattern is consistent with the game’s existing crops tier list naming conventions for multi-harvest event seeds, and given that Wheatcap and Harvest Melon (the other two new seeds in this batch) are both gated behind summon counts rather than being free unlocks, it’s reasonable to expect Starry Strawberry follows a similar structure — but that’s an inference, not a confirmed fact, and this guide will get updated the moment the recipe is locked in.
A Fully Documented Moon Crafting Example: The Harvest Golem Recipe
Since Starry Strawberry’s exact requirements aren’t public yet, the best way to understand how Moon Crafting actually behaves is to walk through the one recipe from this update that is completely confirmed.

Unlocking the Recipe
The Harvest Golem doesn’t appear on your crafting table by default. You need to summon the Harvest Moon exactly 9 times before the recipe slot even opens — and with the standard 10-minute cooldown between summons, that’s a multi-session grind rather than something you clear in one sitting.
What You Need to Craft It
| Ingredient | Quantity |
| Moon Egg | 1x |
| Mythical Egg | 1x |
| Burning Bud Seed | 1x |
| Romanesco Seed | 1x |
| Moon Coins | Required (variable amount) |
The Harvest Smash Ability
Once built, the Harvest Golem is a Mythical pet with a passive called Harvest Smash. Roughly every 14 minutes and 50 seconds, it smashes the ground near a random plant within an 18.18-stud radius. That single action does three things simultaneously: it auto-harvests every fruit in the affected zone, extends nearby plant growth timers by 30 minutes and 10 seconds, and gives each harvested fruit an 8.08% chance of staying on the plant for a second harvest. Stacked over a full offline session, it functions more like a passive-income booster than a combat or speed pet — check the current pets tier list if you’re deciding whether it earns a permanent loadout slot once you finally craft one.
This same pattern — summon-gated unlock, then a fixed material list plus a Moon Coin cost — is almost certainly what Starry Strawberry and the Moonbeam Radar’s crafting version will follow once their specifics are documented.
The Pets That Make Moon Crafting Faster
Two companions specifically affect how efficiently you clear these recipes, and neither is obvious unless you already own them:
- Hamster cuts down active crafting time, functioning as a straightforward speed buff for whatever’s currently sitting on the table.
- Orangutan and Patchphiloserus both carry a chance to refund materials after a successful craft, meaning ingredients occasionally return to your inventory instead of disappearing for good.
Running a refund pet alongside a Hamster is close to the most efficient setup currently available, since one shortens your wait time and the other softens the material cost every time you repeat a recipe — which matters a lot once Starry Strawberry’s exact ingredients get confirmed and you’re farming multiples.
How to Farm Moon Coins Fast for the Shop and Crafting Table
Every route through this update — the Moonbeam Radar’s shop price, the Harvest Golem’s variable coin cost, and whatever Starry Strawberry ends up requiring — draws from the same currency pool, so a steady Moon Coin income matters more than any single purchase decision.
- Sell Moonbeam-mutated fruit at the Moon Sell Stand. This remains the core income loop from Part 1, and higher base-value crops return more coins per sale.
- Keep a Moongrain Meadow running if you placed one during Part 2. It passively applies the Moonbeam mutation to a nearby fruit every 10 minutes on its own, independent of the main weather cycle.
- Don’t ignore the Wise Owl’s rotating requests from Part 2. Filling that bar still hands out Moon Chests, which is a second coin-adjacent income stream running in parallel to the main loop.
- Team up. Up to four players can pool progress on the Moon Coin Madness track, and coordinating who stocks which pedestal fruit fills the offering bar noticeably faster than farming solo — the same logic covered in the broader money-making guide applies here too.
Best Order to Tackle Both Items
Given how tightly these systems interlock, sequencing matters more than usual:
- Prioritize Harvest Moon summons first. Every Moon Crafting recipe, confirmed or not, is gated behind your summon count rather than currency — this is the one bottleneck no amount of Moon Coins gets you around.
- Level a Hamster and a refund pet in parallel. Neither depends on your summon count, so there’s no reason to delay pet leveling while you wait out summon cooldowns.
- Hold off spending every coin the moment you earn it. Between the Moonbeam Radar’s shop price, the Harvest Golem’s ingredient list, and whatever Starry Strawberry ends up costing, deciding your priority order in advance prevents you from stalling out on all three at once.
What’s Still Being Confirmed
To be straightforward about where things stand: Starry Strawberry’s ingredient list and summon-gate number, and whether the Moonbeam Radar’s crafting-table version uses different materials than a simple coin purchase, are the two open questions the community hasn’t nailed down yet. Given how quickly the Harvest Moon storyline has been expanding — Part 1 to Part 3 in under three weeks — expect those specifics to surface within days rather than weeks. Once they do, this guide gets the exact numbers slotted in rather than treating an early estimate as a locked answer.
In the meantime, the actions that pay off regardless of what those final recipes turn out to be are the same ones that have mattered since Part 1: keep summoning, keep your Moon Coin income running, and level the crafting-support pets so you’re ready to move the moment the recipe screen shows real numbers.
Frequently Asked Questions

Harvest Moon Part 3 Guide: Moon Machine, Moon Crafting & the Harvest Golem Explained
Read Guide
How to Use the Moon Machine: Full Mutation Guide (Starry Pull Odds)
Read Guide
Harvest Moon Event 2026: Complete Guide to Moon Coins, Pets & Milestones
Read Guide
Harvest Moon Part 2: Wise Owl, Moon Chests & Season Pass 7 Explained
Read Guide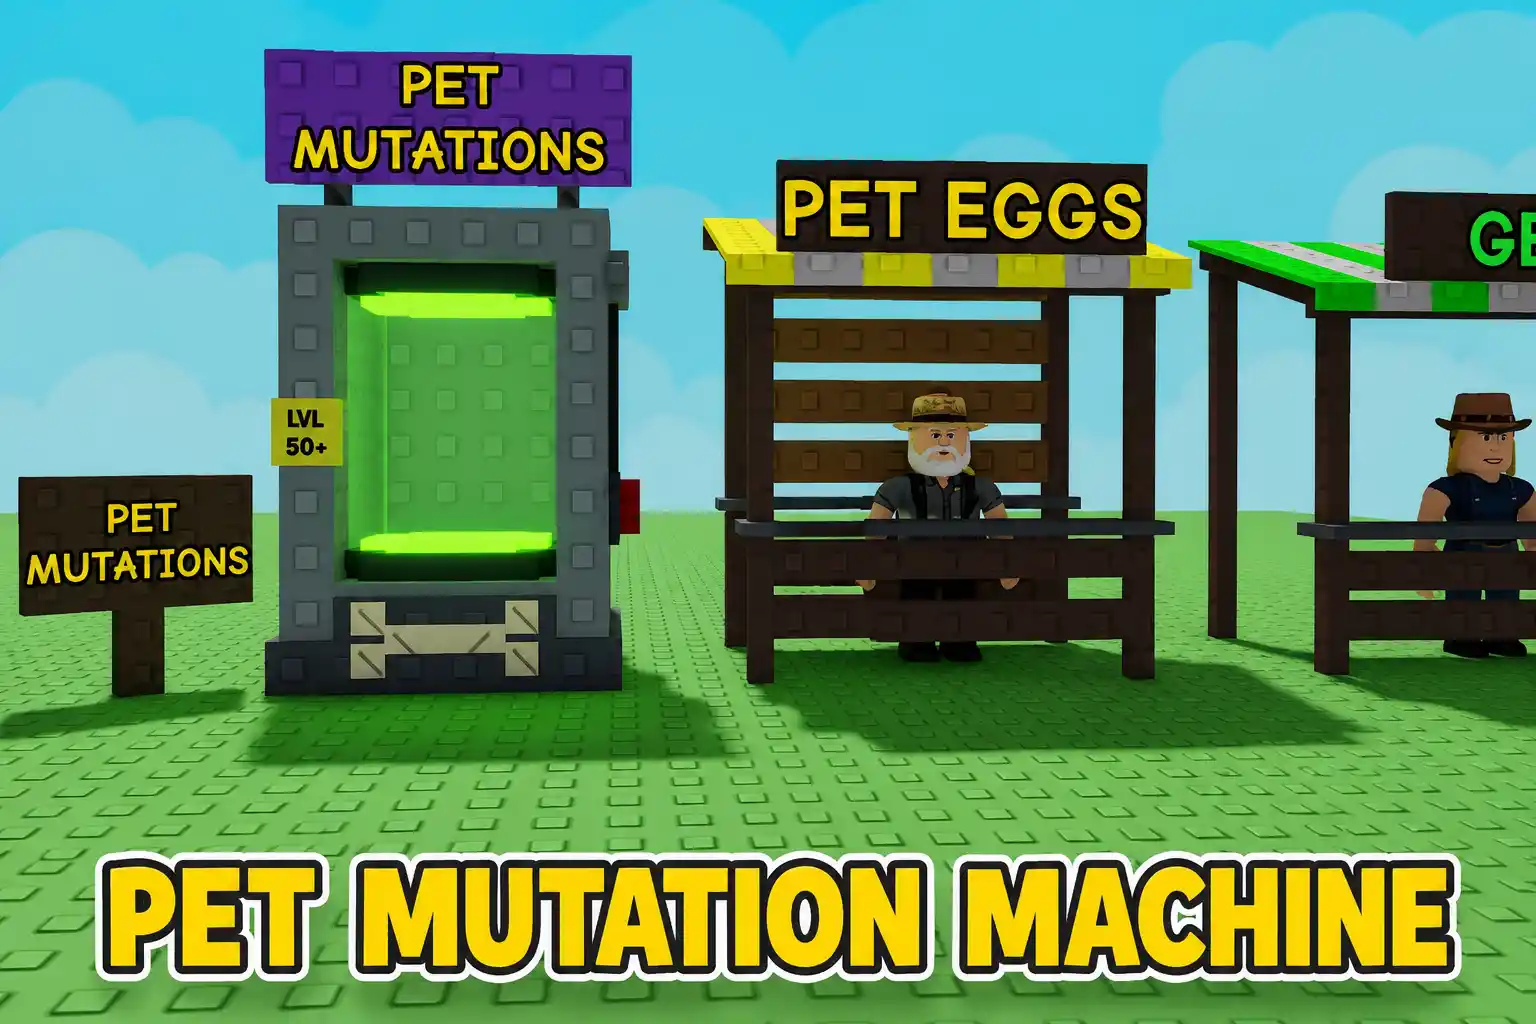
Pet Mutation Machine: Cost, Location & Drop Rates Explained
Read Guide