

If you’ve spent more than a week in Grow a Garden, you’ve probably heard someone in chat brag about pulling a Nightmare or an Ascended pet and immediately wondered how they did it. Nine times out of ten, the answer is the same machine sitting quietly on the north edge of the map — the Pet Mutation Machine. It’s one of the few systems in the game where a single roll can turn a maxed-out pet worth a few hundred thousand Sheckles into something people are begging to trade for in a Discord server.
This guide breaks down exactly how the machine works, what it actually costs (there’s a rumor floating around that’s flat-out wrong), every mutation you can pull from it, and whether it’s actually worth saving up for compared to just farming with your current pet setup.
Pet Mutation Machine in Grow a Garden
The Pet Mutation Machine is a permanent structure that was added alongside the Prehistoric-era Update 1.14.0 on July 12, 2025. Unlike crop mutations, which are temporary value multipliers that show up on individual fruits and vegetables during weather events, a pet mutation is a permanent modifier applied directly to the animal itself. Once a pet walks out of that machine glowing gold, sparkling rainbow, or wrapped in frost, that effect is locked in for good — there’s no undo button.
Feeding a pet into the machine changes what it does, not just how it looks. Depending on the roll, your pet might gain a passive XP boost, start applying a crop mutation to nearby plants automatically, grow to double its normal size, or shrink down while gaining a hunger discount. If you’re still getting your pets sorted before touching the machine at all, it’s worth checking a pet tier list first so you’re not wasting a 500-million-Sheckle roll on something that’ll get replaced in two weeks anyway.
Where to Find the Pet Mutation Machine
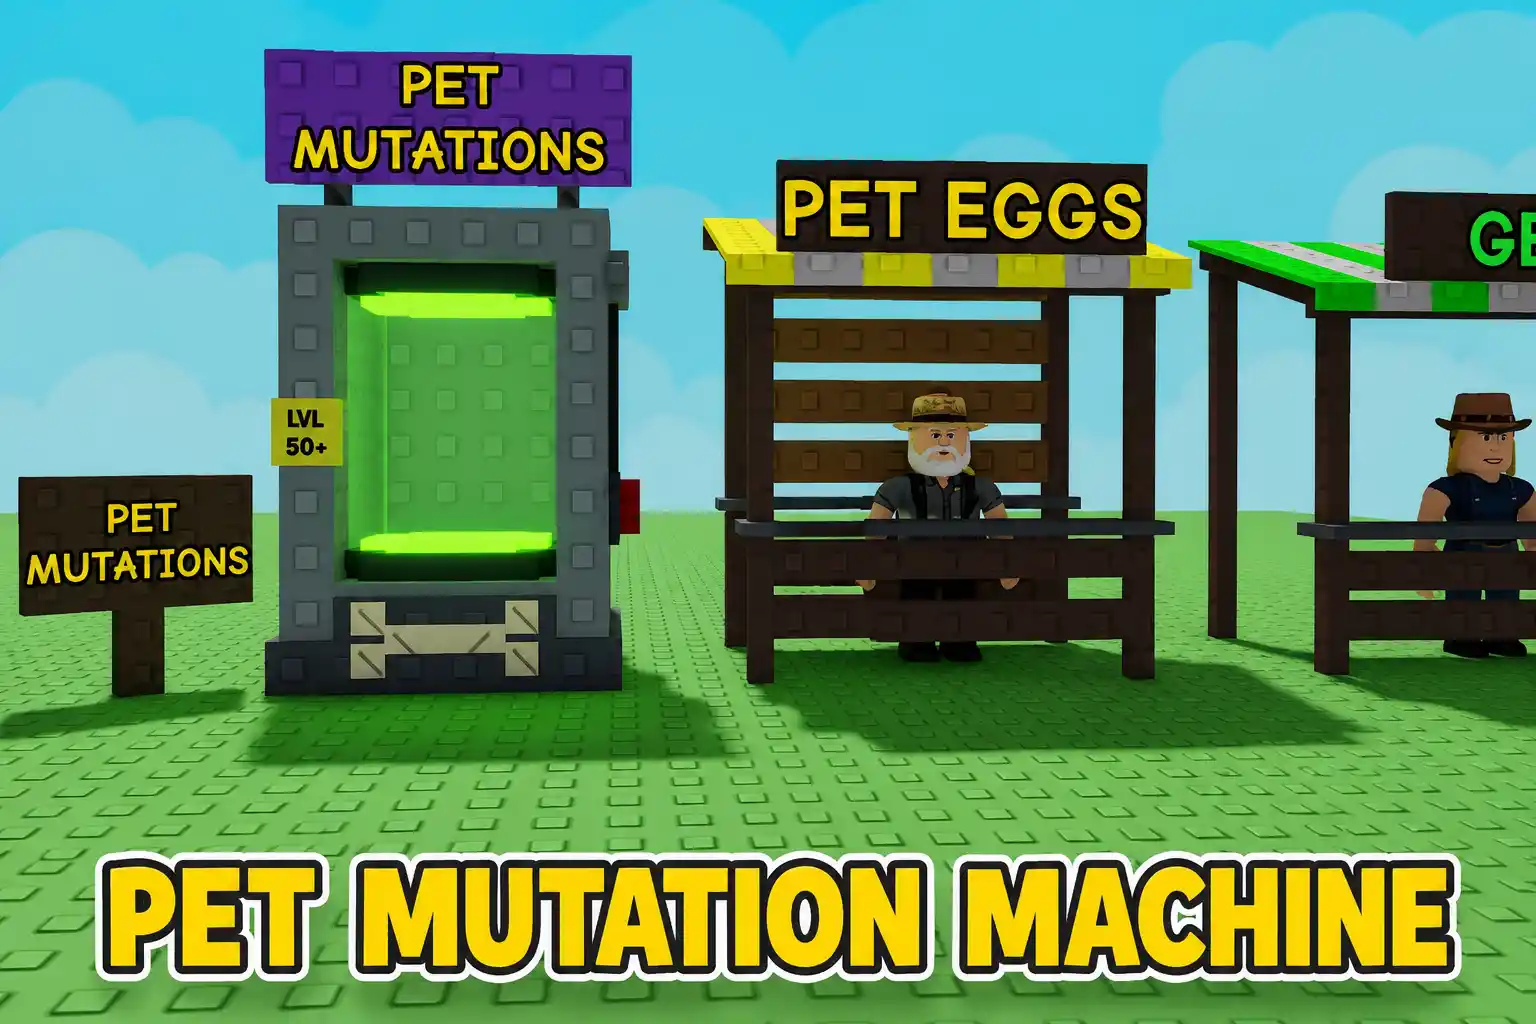
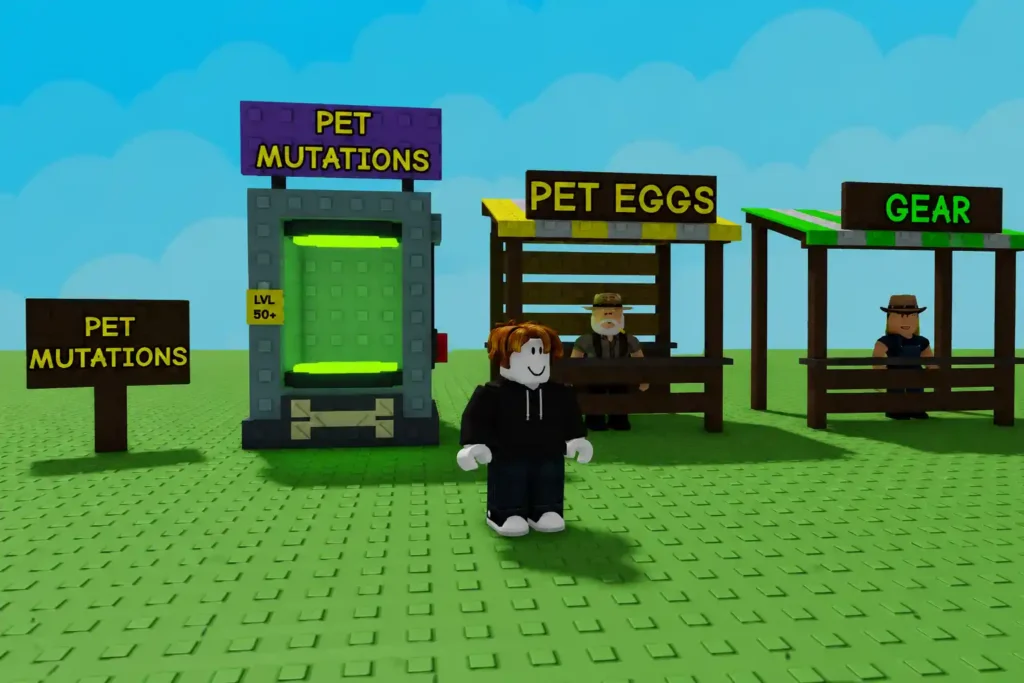
The machine sits on the north side of the map, right next to Raphael’s Egg Shop. If you’ve already been hatching eggs regularly, you’ve walked past it a dozen times without realizing what it does. It looks like a large glass containment pod with a control panel on the front — you can’t miss it once you know where to look.
Pet Mutation Machine Cost, Requirements & Timer
Here’s the part that trips up almost every new player, because half the guides floating around the internet get it wrong.
How Much Does It Actually Cost?
The Mutation Machine costs a flat 500,000,000 Sheckles per attempt. That’s five hundred million, not one billion — a mistake that keeps getting repeated across community wikis and YouTube comment sections. There’s no Robux option to buy your way past the fee itself; the 500M charge is paid entirely in in-game currency. If you’re nowhere near that number yet, a solid money-making strategy built around high-multiplier crops will get you there a lot faster than casual farming.
Minimum Pet Level Requirement
Your pet needs to be Age 50 — the game’s level cap — before the machine will even accept it. Reaching Age 50 from scratch takes roughly 873,660 total XP, which in practice works out to somewhere between 40 and 120 hours depending on how efficient your XP-farming setup is. Pets with an Inverted or Shiny mutation already applied make excellent helper pets for speeding this grind along, since their whole purpose is boosting nearby XP gain.
How Long Does a Mutation Cycle Take?
Once your pet is inside and you’ve paid the fee, the machine runs for exactly 60 minutes. You don’t need to stay logged in — the timer counts down whether you’re online or offline, similar to how the Dinosaur Egg incubator works during the Prehistoric event. If you own the Mutation Machine Booster gear piece, that time drops to roughly 50 minutes. Impatient players can also pay 49 Robux to skip the wait entirely, though most of the community just lets it run in the background while they farm.
How to Use the Pet Mutation Machine (Step by Step)
- Level your pet to Age 50. There’s no shortcut around this — the machine simply won’t let you submit an under-leveled pet.
- Save up 500,000,000 Sheckles. Sell high-value crops, and don’t be afraid to check a crop profit guide if your Sheckle income has stalled.
- Walk to the machine on the north side of the map, next to Raphael’s Egg Shop.
- Place your Age 50 pet inside and confirm the payment. The 60-minute timer starts immediately.
- Come back an hour later. Your pet will have a permanent mutation applied — and its age resets back down to 1, so don’t be alarmed when it looks like a baby again.
Every Pet Mutation Machine Drop Chance
The machine rolls from a weighted pool of 12 possible outcomes every time you use it. Roblox doesn’t publish these odds officially, so the percentages below reflect what the community has tracked through hundreds of aggregated machine runs, cross-referenced against the official Discord and the game’s Fandom wiki. Treat them as reliable estimates rather than a guaranteed contract with the RNG gods.
| Mutation | Type | Effect | Estimated Chance |
| Shiny | XP Boost | +15% XP/sec | ~32% |
| Inverted | XP Boost | +30% XP/sec | ~16% |
| Frozen | Crop Mutation | Applies Frozen (×10) to nearby crops | ~10% |
| Windy | Crop Mutation | Applies Windstruck (×2) to nearby crops | ~10% |
| Golden | Passive Boost | +10% passive ability strength | ~6% |
| Mega | Size | +200% size, minor XP bonus, higher hunger | ~6% |
| Tiny | Size | -90% size, minor XP bonus, lower hunger | ~6% |
| Rainbow | Passive Boost | +20% passive ability strength | ~3% |
| Shocked | Crop Mutation | High-value lightning mutation during Thunderstorm weather | ~3% |
| Radiant | Plant Growth | Advances nearby crop growth by 24 hours periodically | ~3% |
| Aurora | Crop Mutation | Chance to apply Aurora mutation to nearby crops | ~3% |
| Ascended | Crop Mutation | Rare, extremely high-value crop mutation on a long cooldown | 0.3% or lower |
Two mutations you won’t find on this list — Nightmare and the seasonal Ice Golem and Peryton rewards — aren’t machine outcomes at all. Those only come from Halloween’s Headless Horseman event and their respective winter and spring counterparts, which is exactly why they command such high prices whenever someone lists one on a trading server. Interestingly, a couple of older mutations — Tranquil and Corrupted — used to be part of the machine’s pool and were later pulled out entirely, so if an old guide mentions them, that’s why you can’t roll them anymore.
If you’d rather skip the guesswork on your odds entirely, running the numbers through a value calculator before committing your Sheckles can save you from an expensive surprise.
Can You Stack or Remove a Pet Mutation?
No, and this trips people up constantly. Mutations don’t stack. If you run an already-mutated pet through the machine a second time, whatever it had before gets completely overwritten by the new roll — you don’t end up with two mutations, and you can’t choose to keep the old one. There’s also no way to remove a mutation once it’s applied; whatever you pull is permanent.
There’s exactly one exception worth knowing: a pet that naturally hatches as Rainbow straight from a Rainbow Egg can still receive an additional mutation from the machine on top of its existing Rainbow status. That’s different from winning the Rainbow mutation through the machine, which follows the normal overwrite rule like everything else.
Shards vs. the Mutation Machine — Which Should You Use?
If gambling 500 million Sheckles on a weighted roll doesn’t sound appealing, shards are the alternative. A shard applies one specific, guaranteed mutation to your pet — no random chance involved — but you’ll usually have to earn it through an achievement, a seasonal NPC, or a crafting recipe instead of buying it outright. A Gold Shard, for instance, is a straightforward shop purchase and guarantees Golden every time, while something like a Glimmering Shard requires progressing through Fairy Fountain tiers first.
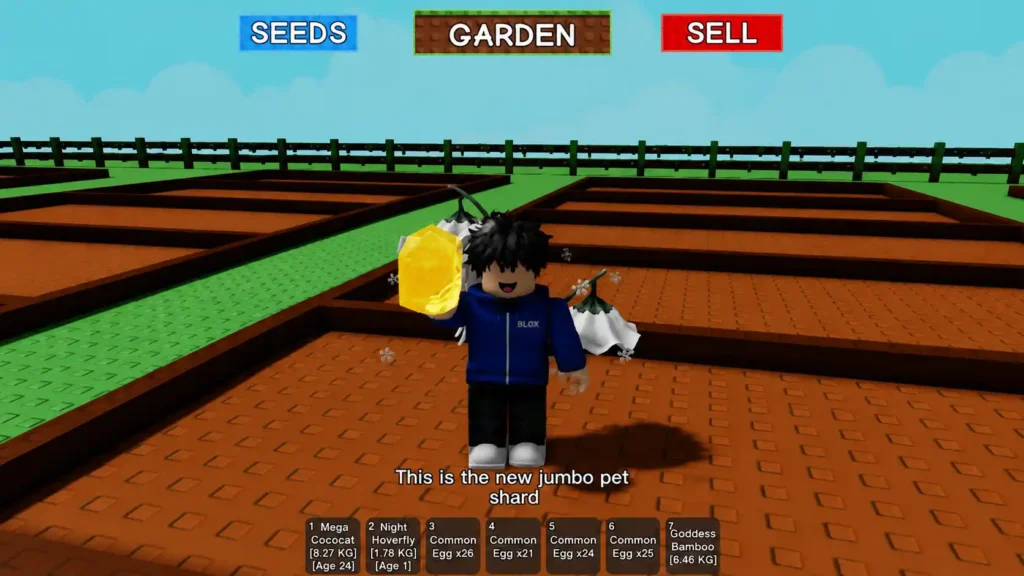
The trade-off is simple: the machine is faster and cheaper up front but completely random, while shards cost more effort (and sometimes real money) in exchange for certainty. If you’re chasing one specific mutation for a pet combo build, a shard is almost always the smarter long-term investment.
The Mutation Machine Booster Gear, Explained
The Mutation Machine Booster is a gear item that shaves time off every machine cycle once it’s placed on your farm. It isn’t sold in the shop — you earn it through the Garden Guide by completing the Catch Them All Achievement, which requires collecting a long list of common and uncommon pets, from a basic Dog and Bunny all the way up to a Praying Mantis and Dragonfly. Once unlocked, it’s a permanent quality-of-life upgrade with no other function beyond speeding up mutation cycles, so it’s worth grinding out early if you plan on using the machine more than a handful of times. Pairing it with the right gear loadout makes repeat machine runs a lot less tedious.
The New Mutation Machine From the Summer Camp Update
Summer Camp Part 3 shook up the mutation system further by raising the pet level cap from 100 to 500 and introducing a second machine variant tied to the Inferno Ritual, run through the Campfire Keeper NPC. This route asks for a pet plus four Inferno Shards, earned through repeated Bearnaby deliveries, and produces its own separate pool of mutations layered on top of the classic system described above. Exact drop weights for this newer machine are still being confirmed by the community as testing continues, so treat any specific numbers you see for it as provisional until more players have logged verified pulls. Keep an eye on the game’s ongoing events calendar, since Jandel has a track record of adjusting freshly launched systems within a week or two of release.
Best Pet Mutations to Chase From the Machine
Not every roll is created equal, and where you land depends heavily on what you’re optimizing for.
- For trade value: Anything from the seasonal NPCs (Nightmare especially) sits well above what the machine itself can produce, simply because supply is capped to event windows.
- For passive farming output: Ascended is the standout, despite its brutally low odds, because of how much value it adds to nearby crops over time.
- For grinding XP faster: Inverted beats Shiny in raw efficiency, making it the better pull if your goal is leveling up a second pet quickly.
- For AFK-friendly builds: Tiny’s reduced hunger rate means less time spent managing feeding, which matters if you’re not logging in every few hours.
Is the Mutation Machine Worth 500 Million Sheckles?
Honestly, it depends on where you are in your progression. If 500M Sheckles is still a meaningful chunk of your total wealth, you’re probably better off putting that money toward new seeds, gear, or a second pet slot instead — a bad roll (and there are plenty of underwhelming ones in that 12-outcome pool) can feel like a big loss early on. Once you’re at a point where 500M is closer to pocket change from your regular harvest income, the machine turns into a fun, low-stakes gamble rather than a make-or-break decision. Either way, if you’re brand new to the mutation system as a whole, it’s worth reading through a general beginner’s guide first so you understand how mutations fit into the bigger picture before you commit your first pet.
The Pet Mutation Machine has been one of the more consistent systems in Grow a Garden since it launched over a year ago, and with the Inferno Ritual expanding it even further, it doesn’t look like it’s going anywhere. Save your Sheckles, level that pet to Age 50, and good luck on the roll.
Frequently Asked Questions

Grow a Garden Mutations Guide – Best Mutations, Multipliers & Mutation Values
Read Guide
Grow a Garden Pets Tier List 2026 – Best Pets Ranked
Read Guide
Grow a Garden Pet Values List – Ultimate Trading Guide for Every Pet
Read Guide
Best Pet Combos in Grow a Garden 2026 (Ranked by EXP, Money & Mutations)
Read Guide
Grow a Garden Eggs Guide 2026 – All Eggs, Hatch Chances & Best Pets
Read Guide