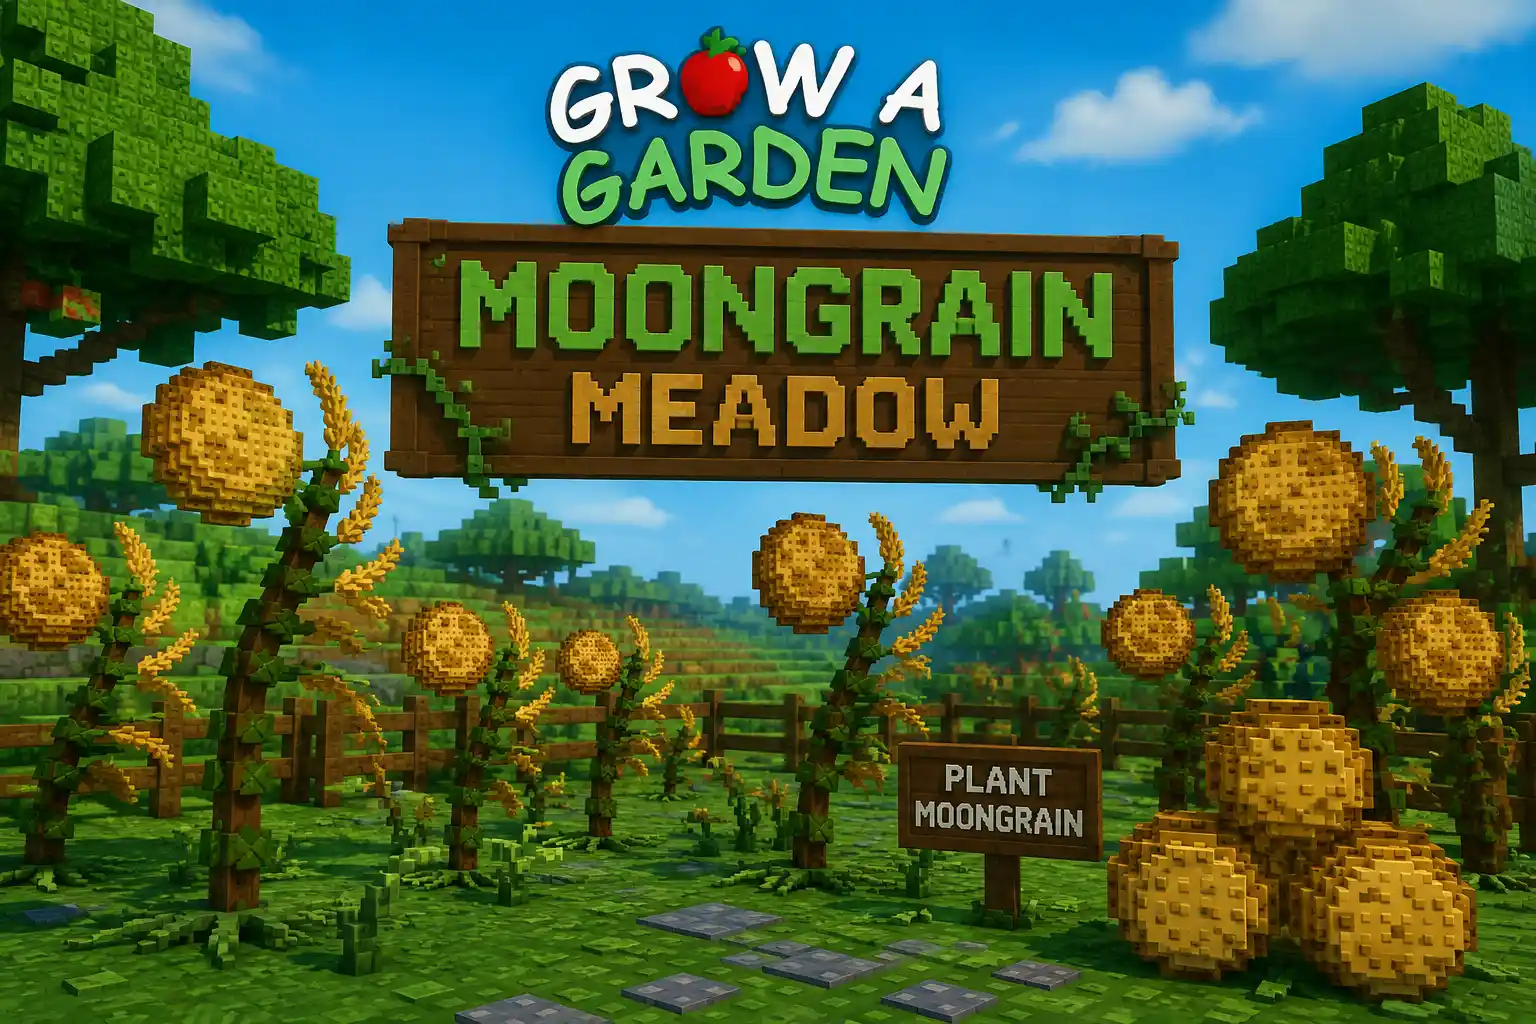


A pile of Moon Coins with nowhere left to spend them is exactly what most players were sitting on before Update 1.63.0 landed. The fix arrived in the form of a stone companion you can’t hatch, buy, or trade your way into — you have to build it. The Harvest Golem is the headline reward of Harvest Moon Part 3, and unlike almost every other pet in Grow a Garden, it comes out of a crafting station instead of an egg.
That single detail changes everything about how you plan for it. There’s no gacha luck involved, no egg odds to calculate — just a fixed recipe, a summon requirement, and a wait timer standing between you and a pet that quietly keeps your garden moving while you’re doing something else entirely. Here’s a fully verified breakdown of what the Harvest Golem actually costs, what its Harvest Smash ability does down to the exact numbers, and whether it deserves a spot in your crafting queue ahead of everything else Moon Crafting currently offers.
What Makes the Harvest Golem Different From Every Other Pet in This Update
The Harvest Golem carries Mythical rarity and a substantial 275,000 hunger stat, putting it well above most standard-tier companions in upkeep cost. What separates it from the rest of the roster, though, isn’t the number — it’s the acquisition method. Every other pet added alongside Harvest Moon Part 3 either hatches from an egg or drops from a mutation roll. The Harvest Golem is assembled piece by piece at the Moon Crafting table, which means your odds of getting one are 100% as long as you’re willing to put in the summon count and gather the ingredients. There’s no RNG wall standing between you and this pet — only a time investment.
That also makes it fundamentally different from the game’s original Golem pet, which is worth clearing up before going any further, since the two get confused constantly in trade chats and comment sections.
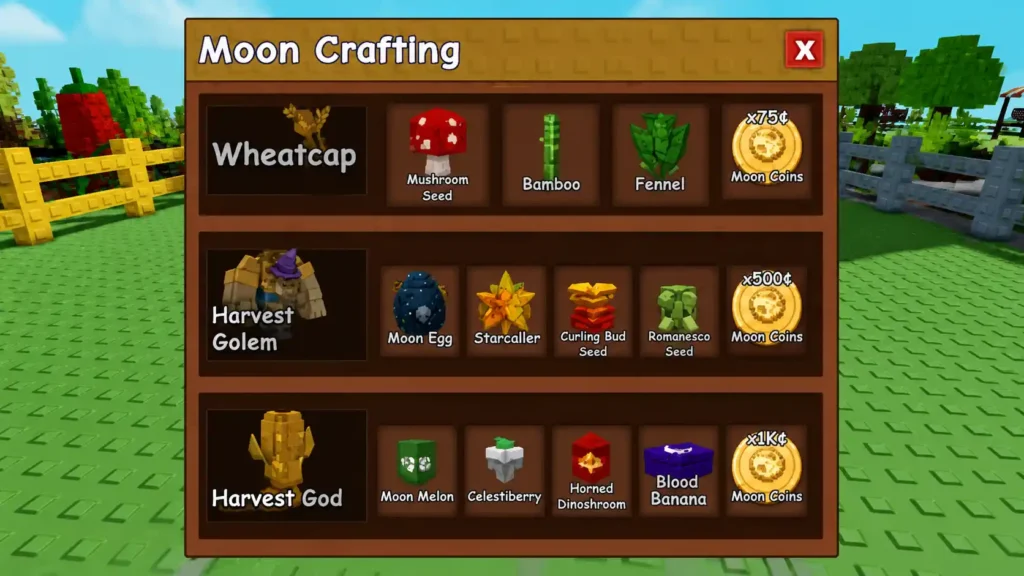
The Full Moon Crafting Recipe for the Harvest Golem
Once the recipe is unlocked on your crafting table, here’s exactly what you need to load in to start the build:
| Ingredient | Quantity |
| Moon Egg | 1 |
| Mythical Egg | 1 |
| Burning Bud Seed | 1 |
| Romanesco Seed | 1 |
| Moon Coins | 500 |
| Craft time | 1 hour 30 minutes |
Moon Coins are the same event currency you’ve been stacking from Moonbeam-mutated fruit sales at the Moon Sell Stand and from Wise Owl completions since Part 2, so if you’ve been farming the event loop consistently, the 500-coin cost shouldn’t be the bottleneck here. The four crafting materials are the part most players end up missing — the Mythical Egg and Moon Egg in particular are easy to accidentally spend on something else before you realize the Harvest Golem needs one of each.
How Many Harvest Moon Summons You Actually Need First
The recipe doesn’t appear on the crafting table by default. You have to summon the Harvest Moon at the central altar repeatedly before the Harvest Golem entry even unlocks — the current confirmed requirement sits at 12 successful summons. Each summon means placing fruit into all 10 offering slots at the altar, and because a handful of those slots occasionally call for a specific mutation rather than any generic fruit, it pays to keep a varied stock on hand rather than rushing in with whatever’s sitting in your inventory.

Combined with the standard cooldown between summon attempts, hitting 12 successful summons realistically stretches across multiple play sessions rather than a single sitting. This is the actual gate on the Harvest Golem — not the materials, not the coins, but the summon grind itself.
Craft Time, the Robux Skip, and Why the Wait Actually Matters
Once you’ve got the recipe unlocked and every ingredient loaded in, the craft itself takes a flat 1 hour and 30 minutes. Impatient players do have an option to bypass that wait entirely for 699 Robux, though given that the Harvest Golem is a guaranteed craft rather than an RNG pull, spending real currency here is far less justifiable than it would be for, say, rerolling an egg with a low drop rate. You’re not buying better odds — you’re just buying back ninety minutes.
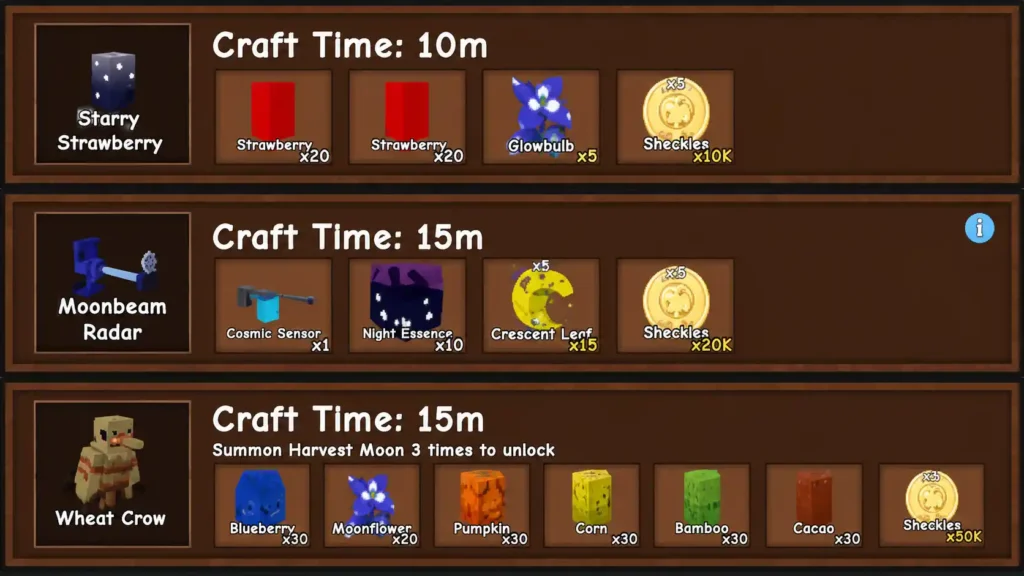
One detail worth flagging for efficiency-minded players: the Moon Crafting station only processes one item at a time. Queuing the Harvest Golem means every other Moon Crafting recipe — including quicker items like the Starry Strawberry or Moon Beam Radar — has to wait its turn behind it. Plan your crafting order around that limitation instead of discovering it mid-grind.
Harvest Smash, Broken Down by the Actual Numbers
This is where the Harvest Golem earns its keep. Its passive ability, Harvest Smash, doesn’t run on a vague “occasionally” timer the way its in-game tooltip suggests — the real cadence and radius are far more specific:
| Stat | Value |
| Trigger frequency | Roughly every 14 minutes 50 seconds |
| Effect radius | 18.18 studs around a random plant |
| Growth boost per trigger | +30 minutes 10 seconds advanced growth |
| Auto-harvest | All fruit inside the affected radius |
| Fruit-retain chance | 8.08% per harvested fruit |
In practice, every time Harvest Smash fires, it does three things at once inside its radius: it advances plant growth, it auto-collects every ripe fruit, and it rolls an 8.08% chance per fruit that the harvest doesn’t actually strip the plant clean — leaving a shot at a second collection from the same crop. One caveat worth knowing before you rely on it too heavily: fruit gathered this way does not count toward Season Pass progress, so don’t expect Harvest Smash to help grind out your event pass milestones.
None of these numbers look dramatic taken individually, but stacked across a full offline session, the cumulative effect is closer to a low-maintenance idle-income booster than a flashy combat or speed pet. It’s built for players who want their garden progressing quietly in the background, not for anyone chasing burst value.
Harvest Golem vs. the Original Golem — Two Completely Different Pets
Because the names overlap, it’s worth being direct about this: the Harvest Golem and the classic Golem pet from the earlier Beanstalk event share almost nothing beyond a name and a rock-themed design. The original Golem is obtained by hatching a Sprout Egg (roughly a 6% drop chance), carries 32,000 hunger, and its passive shaves time off the Pet Mutation Machine’s cooldown rather than doing anything to your crops. The Harvest Golem, by contrast, is crafted rather than hatched, carries far higher hunger, and its whole identity revolves around passive plant growth and fruit collection.
If you’re trading or comparing pets after finishing the craft, keep that distinction straight — a listing that just says “Golem” without specifying which one can mean two very different pets with very different utility.
Best Pets to Pair With the Craft Itself
Two companions can meaningfully speed up the road to your Harvest Golem, and they work on the crafting process rather than the finished pet:
- Hamster cuts down active crafting time across the board, functioning as a flat speed buff for anything currently sitting on the Moon Crafting table.
- Orangutan and Patchphiloserus each carry a chance to refund a portion of the materials spent on a successful craft, occasionally handing ingredients straight back to your inventory instead of consuming them permanently.
Running a refund pet alongside a Hamster is close to the most efficient setup currently available for grinding through Moon Crafting recipes in general — one shortens the wait, the other softens the cost of anything you end up crafting more than once.
Does the Passive Actually Save You Meaningful Time?
For players who’ve already leveled a couple of pets to 50 and spent time inside the Moon Machine chasing mutations, the Harvest Golem is a genuinely good use of a Moon Crafting slot. It’s the only current recipe that keeps producing value passively after the craft finishes — the Starry Strawberry and Moon Beam Radar are one-time gets, while the Harvest Golem keeps working your garden indefinitely, mutation event or not.
For brand-new players who haven’t built up a Moon Coin surplus yet, the math looks less favorable. Twelve summons plus four specific crafting materials is a steep ask before you’ve established a stable farming loop, and that time might be better spent leveling pets toward the Moon Machine‘s Level 50 requirement first. Treat the Harvest Golem as a mid-to-late event goal rather than a Day 1 priority.
Fastest Way to Farm the Summon Count Without Wasting a Session
Given that the 12-summon requirement is the real bottleneck, the most efficient approach is to treat Harvest Moon summoning as the priority task and let everything else fill in around it:
- Keep a mixed fruit stock on hand at all times. Since certain altar slots occasionally demand a specific mutation, arriving with only one crop type risks stalling a summon attempt entirely.
- Summon on cooldown, every session, without exception. Because the count doesn’t interact with anything else you’re doing, there’s no efficient way to speed-run it beyond simply not skipping attempts.
- Bank Moon Coins from Moonbeam sales while you wait out cooldowns. By the time your 12th summon lands, you want the 500-coin crafting cost already covered so the craft can start immediately.
- Confirm the live recipe on your own crafting panel before committing ingredients. Event recipes have shifted mid-update before, so treat the numbers here as the confirmed baseline and double-check your in-game panel if anything looks different.
Following that order means the moment your recipe unlocks, you’re not scrambling for materials — you’re already sitting on everything you need to start the ninety-minute build immediately.
Frequently Asked Questions

Harvest Moon Part 3: Moon Machine, Moon Crafting & the Harvest Golem
Read Guide
Harvest Moon Event: Summoning Guide & Moon Coin Basics
Read Guide
Harvest Moon Part 2: Wise Owl & Moon Chests Explained
Read Guide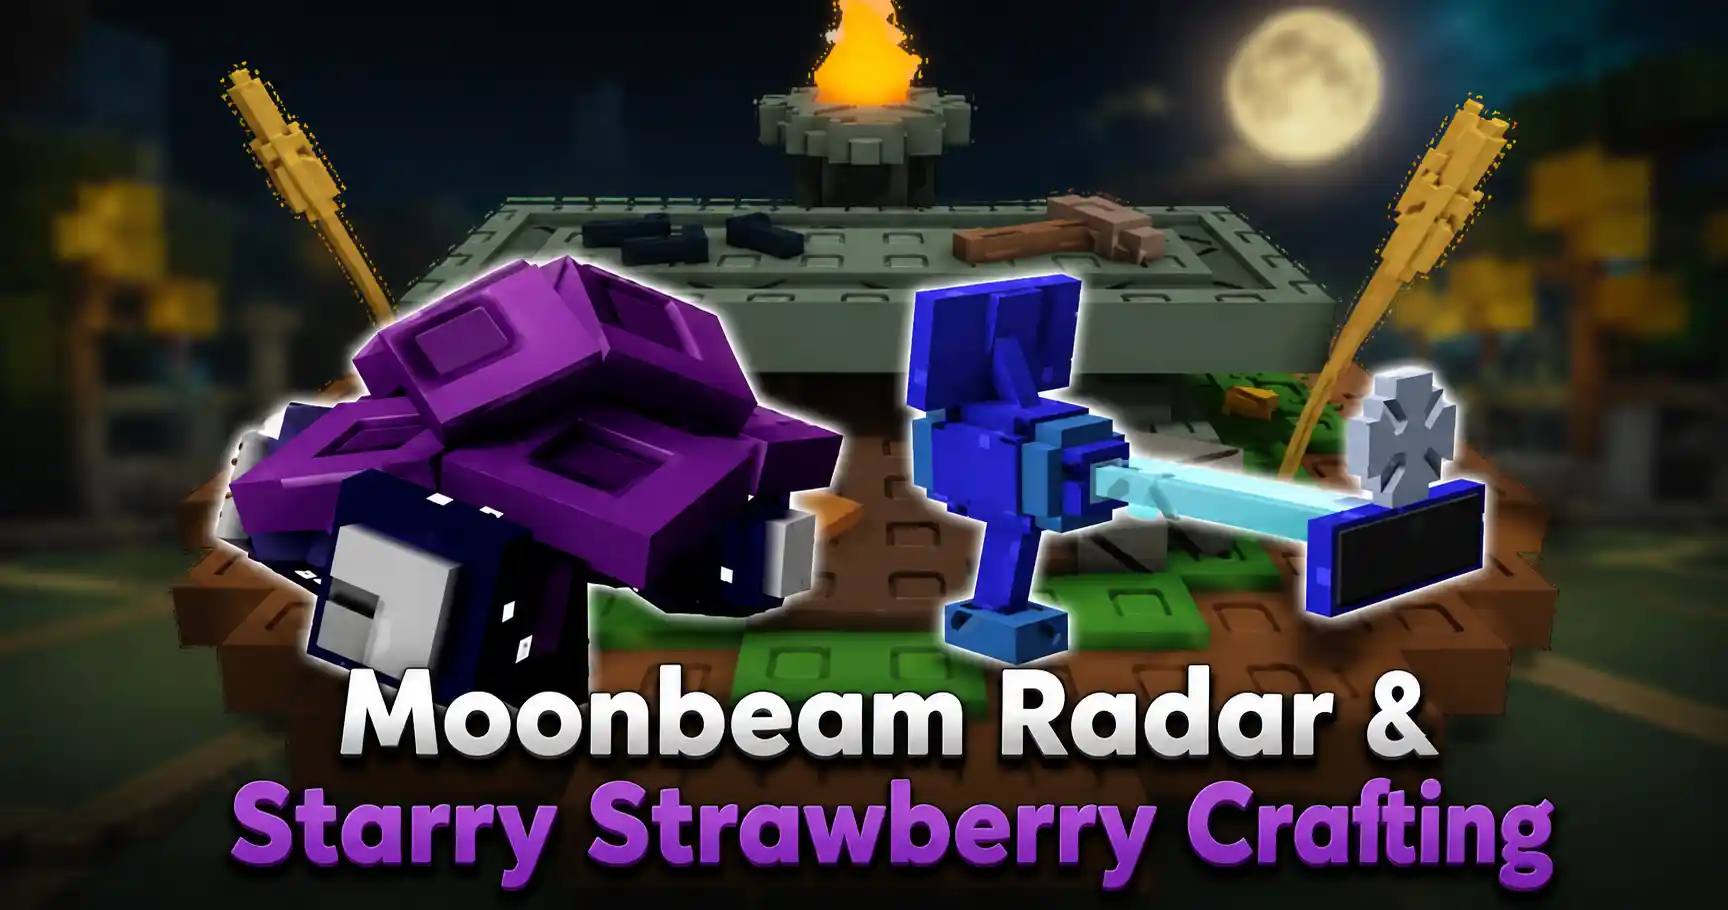
Moonbeam Radar & Starry Strawberry: Moon Crafting Guide
Read Guide
How to Use the Moon Machine: Full Mutation Guide
Read Guide