
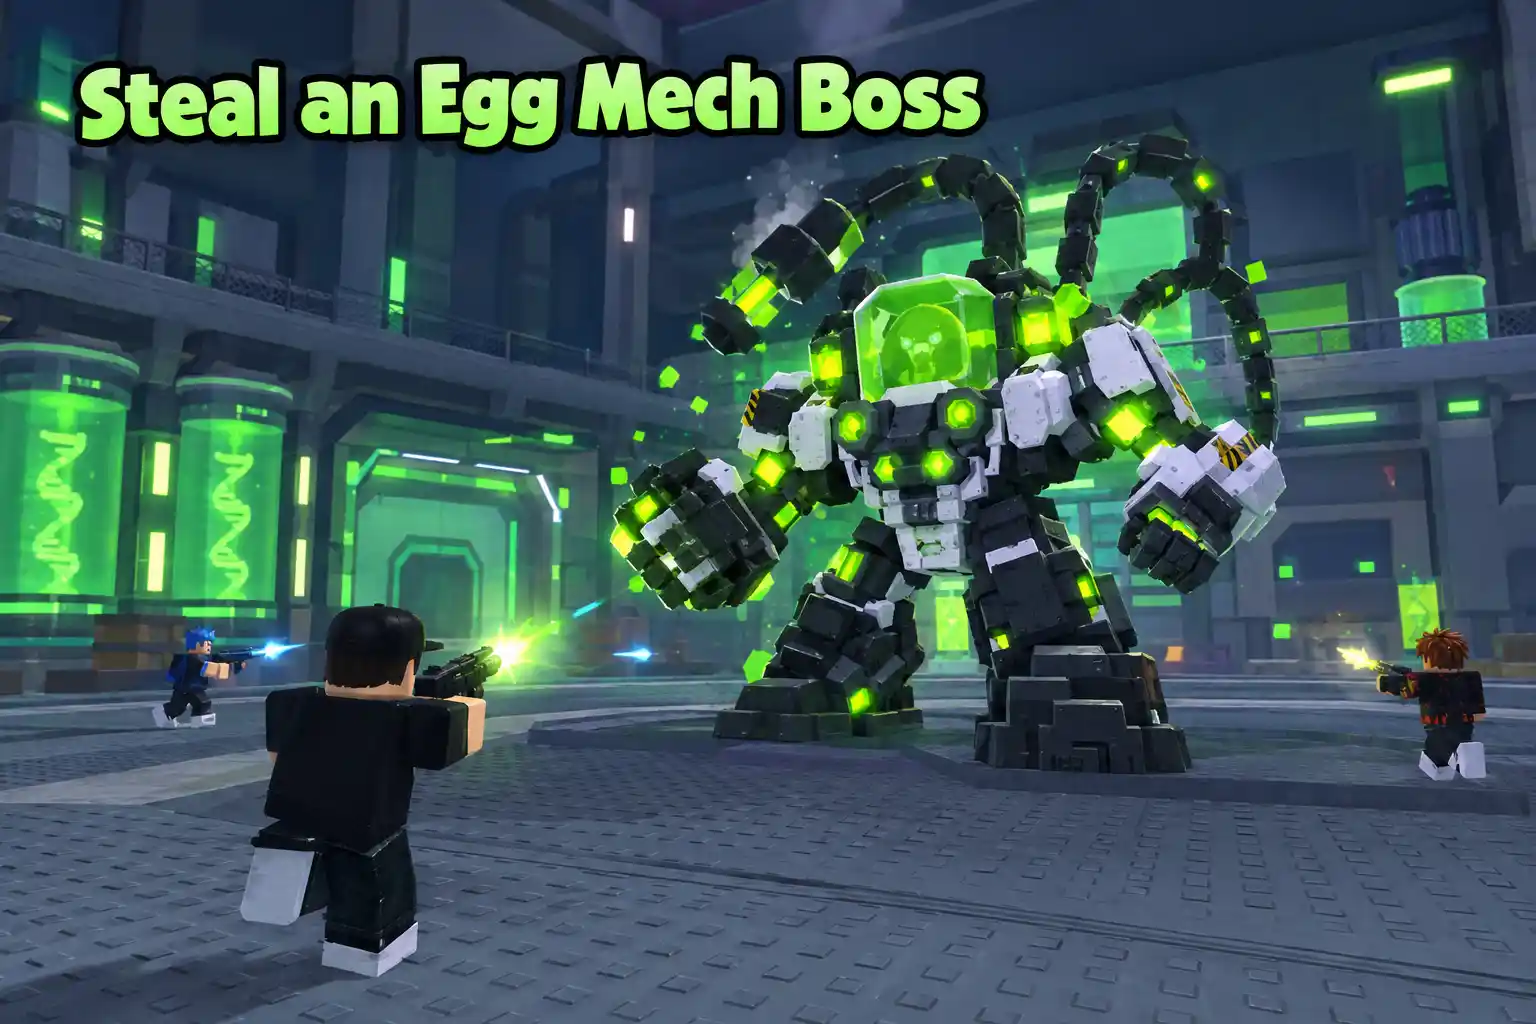

Dr. Scramble’s Mech boss is the first repeatable raid-style fight in Steal an Egg, and the whole thing comes down to one habit: hit the mech only while it is overheated, then switch to a completely different routine once the exposed core appears. Every win pays 1,750 Samples for a solo clear, adds one point to your Boss Mastery, and carries a very small chance at the Divine Mech Scrambler.
The portal opens roughly every 30 minutes, so you get about two attempts an hour. This guide walks through each phase in order, plus the mistakes that quietly waste a run.
When and Where Does the Mech Boss Portal Open?
A portal to Dr. Scramble’s Laboratory appears on a fixed server timer every 30 minutes. Step in, fight, and the portal closes again after the fight ends. Miss it and you wait out the full half hour.
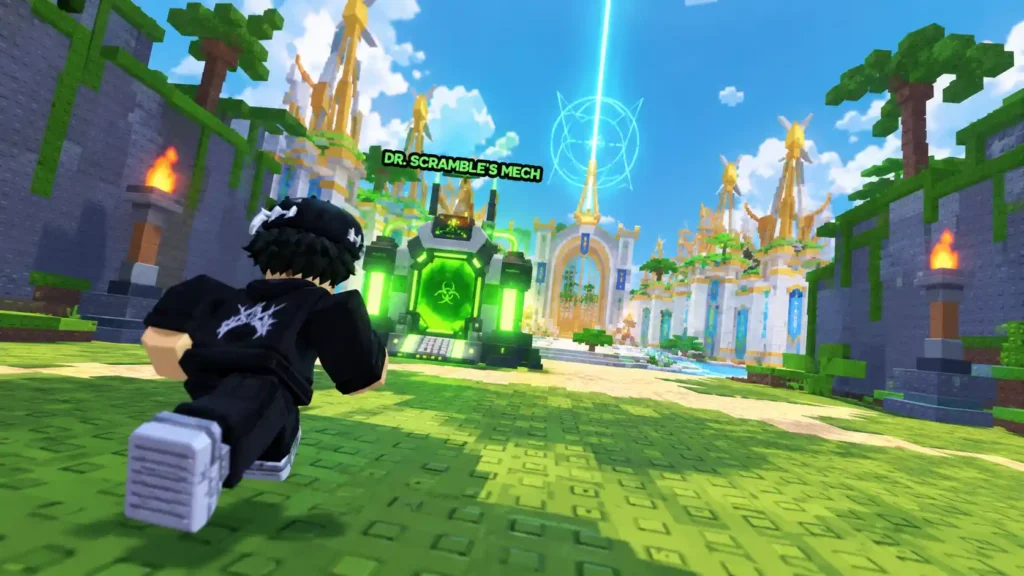
The exact spawn biome is reported differently from place to place (Titan Temple in some accounts, the Forest biome in others), so glance at both areas when the countdown is close to zero. The boss also spawns in private servers, which is handy if you want to learn the pattern without a crowd.
If you want the full story of how this fight fits into the update, the Dr. Scramble’s Revenge breakdown covers the rest of Update 6, and the official patch notes list every change.
What Should You Bring Before Stepping Through?
Not much, but one thing matters: your strongest bat. Any bat gets you into the fight. A better one simply lands more damage per swing, which shortens every phase and, in a group, raises your share of the Samples payout.
Also worth doing beforehand: open your Boss Mastery menu (the green test tube icon on the left side of the screen) so you know which milestone you are chasing, and clear your screen of pop-ups. The target warning in Phase 3 is easy to miss otherwise.
Phases 1 and 2: How to Survive the Mech’s Attack Rotation
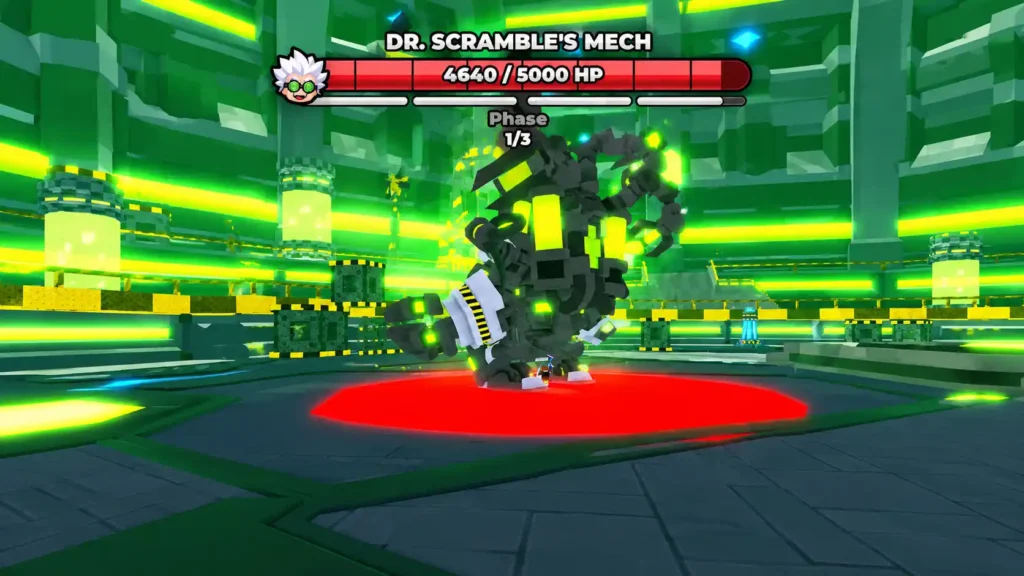
The mech opens with a rotation of moves, and almost every one telegraphs a red marker on the ground. Step out of the marker and you avoid the hit. That single rule covers most of Phase 1.
| Attack | What it does | How to handle it |
| Mech Charge / dash | Straight-line rush that knocks you back | Move sideways out of the red lane |
| Spin attack | Short-range spin around the mech | Back off past its reach |
| Ground slam | Shockwave from the mech hitting the floor | Create distance during the pause before it lands |
| Laser | Beam sweeping the arena | Stay close to the mech or hide behind the crates |
| Toxic Crocodile (Mech Chompa) | A crocodile locks onto a random player | Can’t be damaged, so keep moving until it despawns |
| Scramble Drones | Small drones track individual players | These can be destroyed with your bat, so clear them |
Attack names vary a little depending on who describes them, but the behavior is the same: telegraph, dodge, wait.
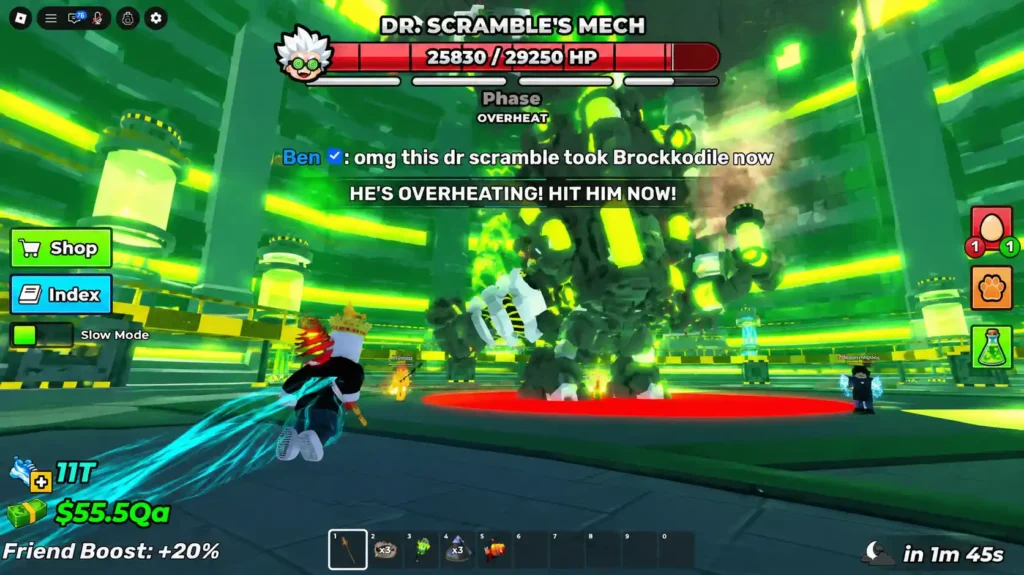
The part that actually damages the boss is the overheat window. At fixed intervals the mech locks up and stands still. That is when everyone should swing as fast as possible. Hitting during the charge, the crocodile, or a laser only puts you in harm’s way for very little return.
Phase 2 uses the same rules with more pressure: the mech is weaker, but drones swarm the arena and the crocodile shows up more often. Kill drones as they appear so chip damage doesn’t stack, then keep saving your big swings for the overheat.
Phase 3: Why Can’t I Damage the Core?
This is the step that trips up most first-timers. When the mech’s health hits zero it explodes, but that isn’t the end. The exposed core with Dr. Scramble inside takes over, and it cannot be damaged while it is moving.
Here is the loop that works:
- Watch for the target notification. The core locks onto one player at a time and rolls toward them.
- Run to a blue tower. Lead the core toward one of the small blue power pylons around the lab.
- Wait for it to get stuck. Near a tower the core is stunned and frozen for a few seconds. That is the only window where it takes damage.
- Hit it hard, then repeat. You need to empty the core’s health bar three times in total. Reported swing counts per stun are around 30, so a strong bat helps a lot.
Hesitating for a second or two after the warning can burn the whole cycle, because the core closes distance quickly. If you are the one targeted, the rest of the server should already be waiting at the tower.
The Final Phase: Three Hits on Dr. Scramble
With the core gone, Dr. Scramble abandons the suit and runs on foot. He has no attacks left in this stage. Chase him down and land three clean hits. The third one sends him flying out of the lab and triggers your rewards.
Rewards only pay out once the whole sequence is finished, so leaving after the mech disappears means walking away from the actual payout. Stay for the core and the chase.
Solo or Public Server: Which Should You Farm In?
| Solo / private server | Public server | |
| Difficulty | Harder, the whole attack rotation lands on you | Easier, attacks and core targets get spread out |
| Samples | 1,750 per solo clear | Depends on your own damage contribution |
| Boss Mastery | 1 per kill | 1 per kill, the same as solo |
Because Boss Mastery pays a flat amount per kill, a solo clear costs you no mastery progress once your bat can carry the fight. A public server is faster for beginners. A private one is better for learning the tells without pressure.
What Do Boss Mastery Rewards Give You?
Every victory adds 1 Boss Mastery point, and the track runs across 22 milestones up to 100 kills. Rewards don’t arrive automatically: open the Boss Mastery menu and press the green Claim button on each finished milestone.
The headline rewards include:
| Boss kills | Reward | Rarity |
| 10 | Eye Bat #021 | Legendary |
| 25 | Citadel Snail #007 | Mythic |
| 50 | Uncoiled Armadillo | Cosmic |
| 75 | A Secret-rarity pet (reported as Mech Chompa; some accounts list Toxic Crocodile, so confirm in-game) | Secret |
| 100 | Pink Dragon Experiment #010 | Eternal |
Milestones in between hand out lab-themed eggs such as the Biohazard Egg, Experiment Egg, and Unstable Egg, including scrambled variants. The Pink Dragon Experiment #010 is reported at roughly $32B/s, which is why the grind to 100 kills matters if you care about income.
The Divine Mech Scrambler is a separate, very rare drop on the kill itself. No drop rate has been confirmed, so treat it as a bonus and not a plan.
Where Do Samples Go?
Each solo win pays 1,750 Samples, plus extra sample drops scattered around the arena. In a group, your total scales with how much damage you contributed. Samples are the spendable currency from the earlier Dr. Scramble event, used in the Experiment Shop, while Boss Mastery is a separate progress meter. The two never trade against each other.
If you’re also working on the lab side of the update, the Laboratory uses eggs, not Samples, so don’t burn a boss run expecting Lab pity to move.
Five Mistakes That Waste a Portal Window
- Swinging outside the overheat window. It earns almost nothing and gets you hit.
- Leaving when the mech disappears. The core and the final three hits still stand between you and the reward.
- Chasing the core in the open. It only takes damage when stuck at a tower.
- Forgetting to claim milestones. Rewards sit in the Boss Mastery menu until you press Claim.
- Arriving late. The portal only opens every 30 minutes, so a missed spawn is a full half hour lost.
How Does This Compare With the Rift Boss?
If you played the earlier Rift event, the structure will feel familiar: a repeating server-wide boss, a Mastery track, and shared damage. The difference is that the Rift’s Abyss Overlord asked you to break crystals and strike its hand, while the Mech asks you to read telegraphs, use overheat windows, and coordinate the core-to-tower routine. For the wider timeline of what changed and when, the Steal an Egg updates page tracks each drop, and the Experiment #001 Egg guide covers a different way to spend your event progress.
A note on accuracy: Steal an Egg is patched often, and the developers have adjusted event timing and boss values without much warning before. Figures such as boss health, drop chances, and the exact spawn biome are reported inconsistently, so this guide leaves out numbers that couldn’t be confirmed. If the in-game timer or a milestone reward looks different from what’s written here, trust the game and check the official update notes for the latest changes.