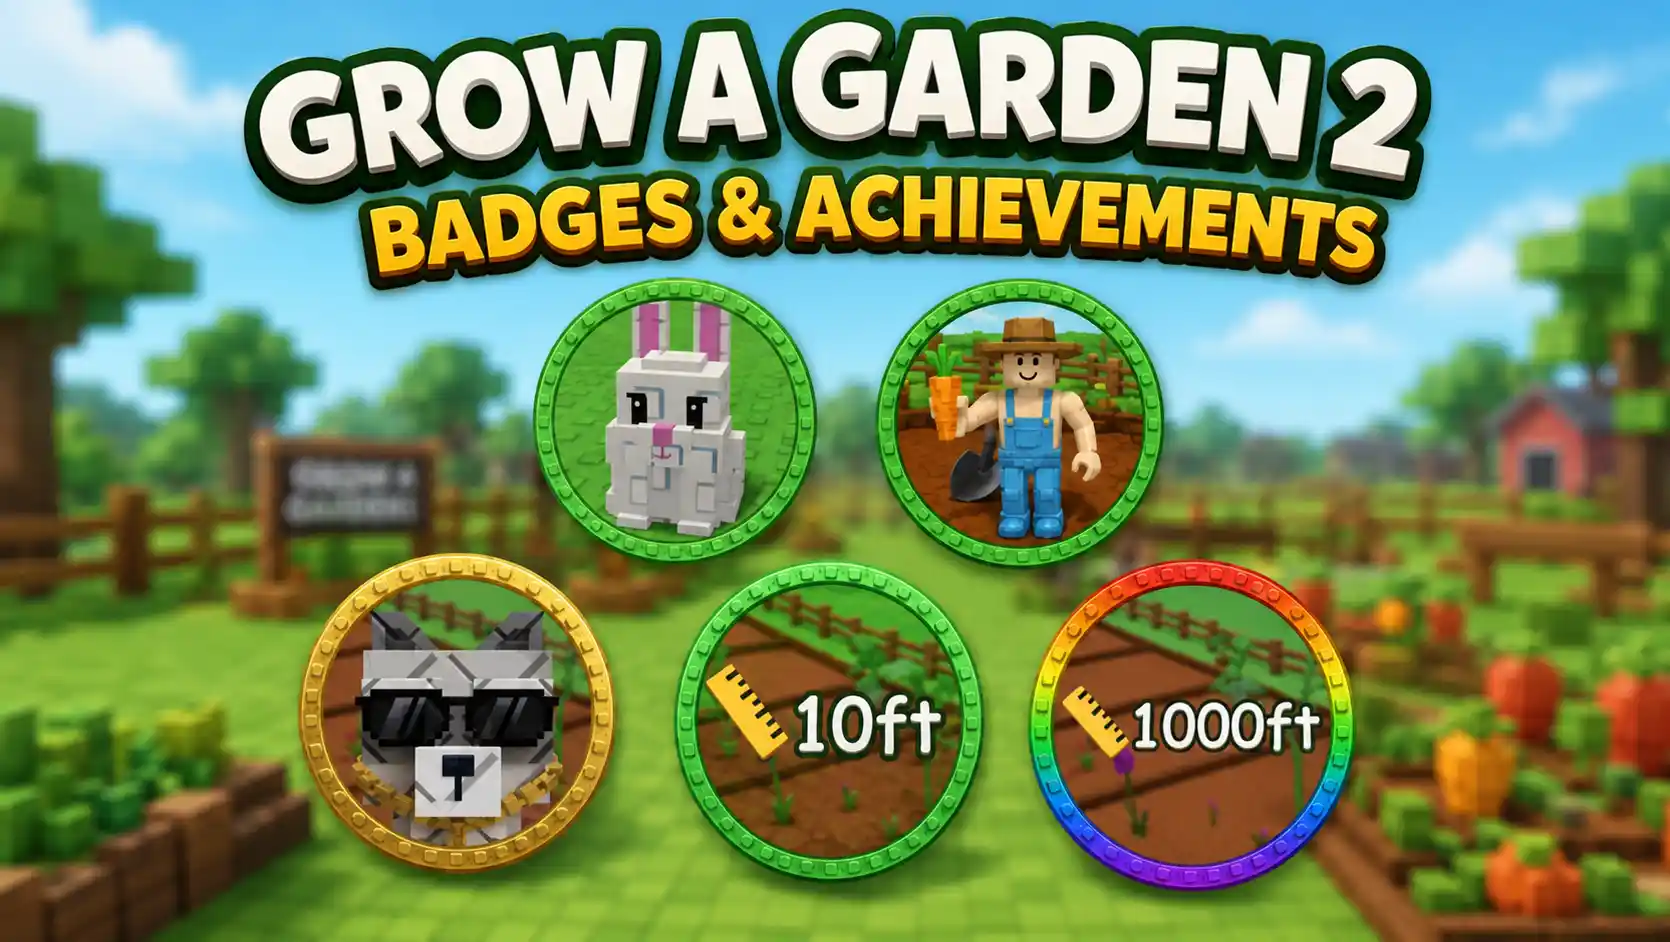

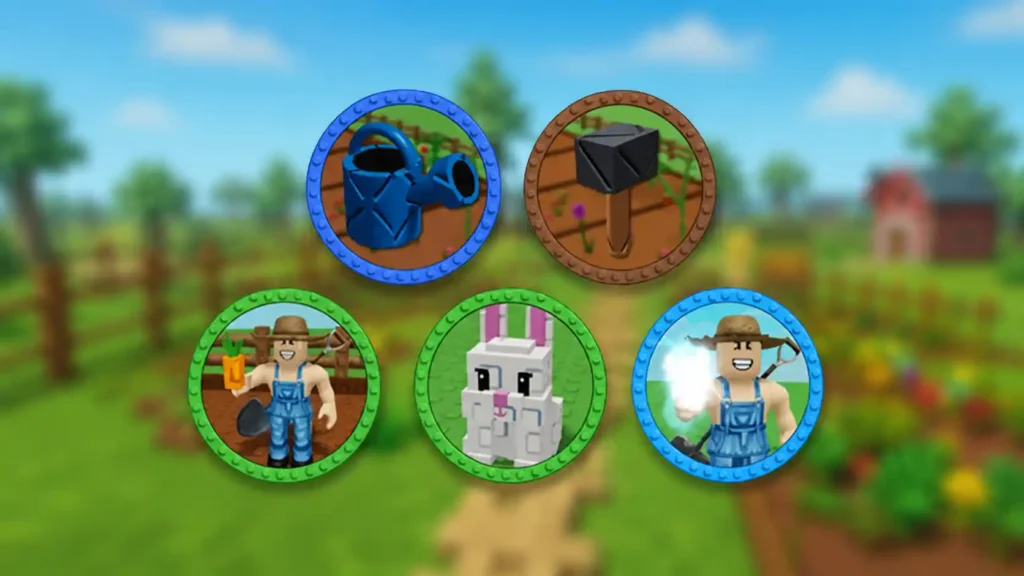
Pull up your Roblox profile after a solid session in Grow a Garden 2 and you’ll probably notice a row of little icons you haven’t unlocked yet. Those are badges, and unlike a lot of Roblox games where achievements feel like an afterthought, this game actually ties them to real progress — planting your first seed, hatching your first egg, and eventually grinding out a plant that’s taller than a ten-story building.
There are 23 confirmed badges currently live in the game, and this guide walks through every single one, what triggers it, and which ones are going to eat your entire weekend.
How Many Badges Does Grow a Garden 2 Have?
As of the current build, there are 23 known badges, spread across a few clear categories: starter milestones, fruit weight, plant height, mutation quality, pet collection, and one limited-time badge tied to launch week. More could be added as future updates roll out, but this is the complete, confirmed list right now.
How to Check Which Badges You’ve Already Earned
You don’t need a third-party tracker for this one, but you do need to leave the game to check it. There’s currently no in-game badge menu, so open the Roblox app or website, search for Grow a Garden 2, select the game page, and scroll down to the Badges section — every badge you’ve unlocked shows up there, tied to your account. It’s a small inconvenience if you’re actively hunting one specific badge, since you won’t get a confirmation the moment you meet the requirement in-game.
Full List of Grow a Garden 2 Badges
Here’s the complete breakdown, organized the way most players naturally progress through them:
| Badge | How to Unlock |
 First Seed! | Plant your very first seed |
 We are so back! | Water a plant for the first time |
 First Pet! | Obtain your first pet |
 Egg Hatcher! | Hatch your first pet egg |
 First Mutation! | Grow your first mutated plant |
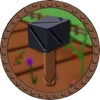 Builder! | Place your first prop or decorative item |
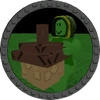 Stole A Fruit! | Successfully steal a fruit from another player’s garden |
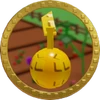 Golden! | Grow a Golden mutation fruit |
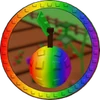 Rainbow! | Grow a Rainbow mutation fruit |
 OMG its BIG! | Hatch a BIG pet |
 OMG its MEGA! | Obtain a HUGE pet |
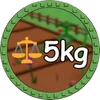 5kg Fruit! | Grow a fruit weighing 5kg |
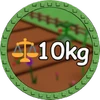 10kg Fruit! | Grow a fruit weighing 10kg |
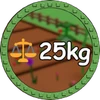 25kg Fruit! | Grow a fruit weighing 25kg |
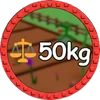 50kg Fruit! | Grow a fruit weighing 50kg |
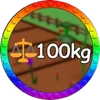 100kg Fruit! | Grow a fruit weighing 100kg |
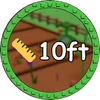 10ft Plant! | Grow a plant that reaches 10ft |
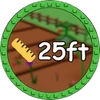 25ft Plant! | Grow a plant that reaches 25ft |
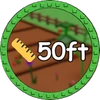 50ft Plant! | Grow a plant that reaches 50ft |
 100ft Plant! | Grow a plant that reaches 100ft |
 500ft Plant! | Grow a plant that reaches 500ft |
 1000ft Plant! | Grow a plant that reaches 1000ft |
 OG Badge | Play the game during its first week |
The Starter Badges You’ll Get Without Even Trying
Six of these — First Seed!, We are so back!, First Pet!, Egg Hatcher!, First Mutation!, and Builder! — unlock naturally within your first ten to fifteen minutes of normal play. You don’t need a strategy for these. Buy a cheap seed from the shop, water it, place any prop you already own, and you’ll clear most of this list before you’ve even sold your first harvest.
The one that surprises new players is First Mutation!, since it depends entirely on random weather. If you’re planting during a Rain or Lightning event, keep several crops in the ground rather than harvesting immediately — mutations only apply to plants that are still growing when the weather effect fires.
Weight Badges: 5kg to 100kg
This is where the grind actually starts. The weight badges scale from a relatively easy 5kg Fruit! up to a genuinely demanding 100kg Fruit!, and heavier crops simply take longer to roll a high weight on. Multi-harvest plants give you more attempts per session since they regrow instead of requiring a full replant, which makes them the more efficient pick if you’re chasing the higher weight tiers.
Height Badges: 10ft to 1000ft
The height track runs parallel to the weight badges, climbing from 10ft Plant! all the way to the notoriously punishing 1000ft Plant! — widely considered the single hardest badge in the game right now. Getting there realistically means combining a size-boosting mutation with a plant type that has strong height potential to begin with, rather than hoping a standard crop rolls high enough on its own.
Mutation & Pet Badges
Golden! and Rainbow! are tied directly to crop mutations, and Rainbow in particular is rare enough that most players don’t land it through casual play — it usually takes actively farming during the right weather window and getting a bit lucky on top of that. If you want to understand exactly how the odds work behind these two mutations, it’s worth breaking down the full mutation system rather than just farming blind.
On the pet side, OMG its BIG! and OMG its HUGE! require hatching or obtaining size-variant pets, which ties back to your egg pool and hatch rates. These aren’t guaranteed drops, so expect to hatch a fair number of standard pets before a BIG or HUGE variant shows up.
Stole A Fruit! — The One PvP Badge
This is the only badge tied to the game’s night-time PvP loop. You’ll need to sneak into another player’s unlocked garden after dark and successfully carry a fruit back to your own base — get caught with a Shovel mid-run and the crop returns to its owner, so the badge only counts once the fruit is safely back on your plot.
OG Badge — Limited-Time Only
Unlike every other badge on this list, the OG Badge isn’t something you can go back and earn later. It was tied to playing during the game’s first week after launch, which means anyone who joined after that window has permanently missed it. If you already have it, it’s effectively a small bragging-rights marker showing you were there early.
Which Badges Are the Hardest to Get?
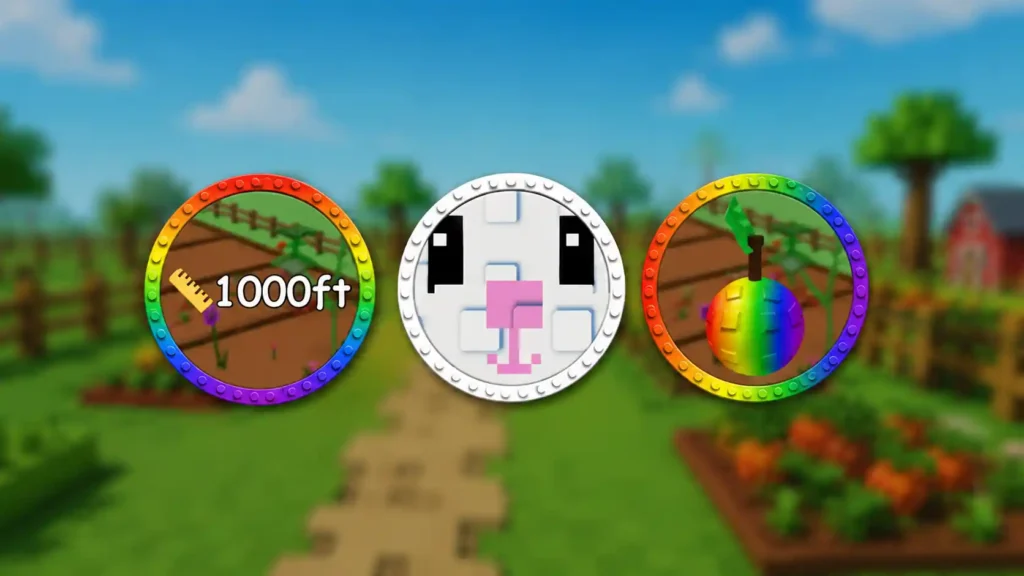
Across the board, three badges consistently give players the most trouble: 1000ft Plant!, Rainbow!, and OMG its HUGE!. All three share the same underlying problem — they depend on a combination of rare mutations, favorable RNG, and a long grind window rather than a single repeatable action. If you’re specifically farming toward these, it helps to prioritize crops with naturally high growth ceilings and to stack whatever growth-boosting gear you already have access to, since raw grow time matters more here than it does for the earlier badges.
Do Badges Give You Any In-Game Rewards?
No — and this trips up a lot of players expecting free Sheckles or seeds. Badges in Grow a Garden 2 exist purely as achievement tracking. They don’t unlock currency, cosmetics, or gameplay bonuses of any kind. That said, most of the actions required to earn them — growing heavier crops, chasing rare mutations, expanding your pet collection — line up naturally with what you’d be doing anyway if you’re focused on making Sheckles fast, so the badges end up as a side effect of good farming rather than a separate grind.
Frequently Asked Questions

Grow a Garden 2 Wiki (2026) – Complete Guide to Seeds, Pets, Gears, Weather, Events & More
Read Guide
Grow a Garden 2 Guilds Guide: How to Create, Join, Manage & Earn Rewards
Read Guide
Grow a Garden 2 Value List (July 2026): All Seed & Pet Trading Values
Read Guide
Best Grow a Garden 2 Seeds, Plants, and Seed Packs Guide 2026 (Complete List)
Read Guide
Grow a Garden 2 Props Guide: Every Crate, Price, Drop Rate & Best Buy Order
Read Guide